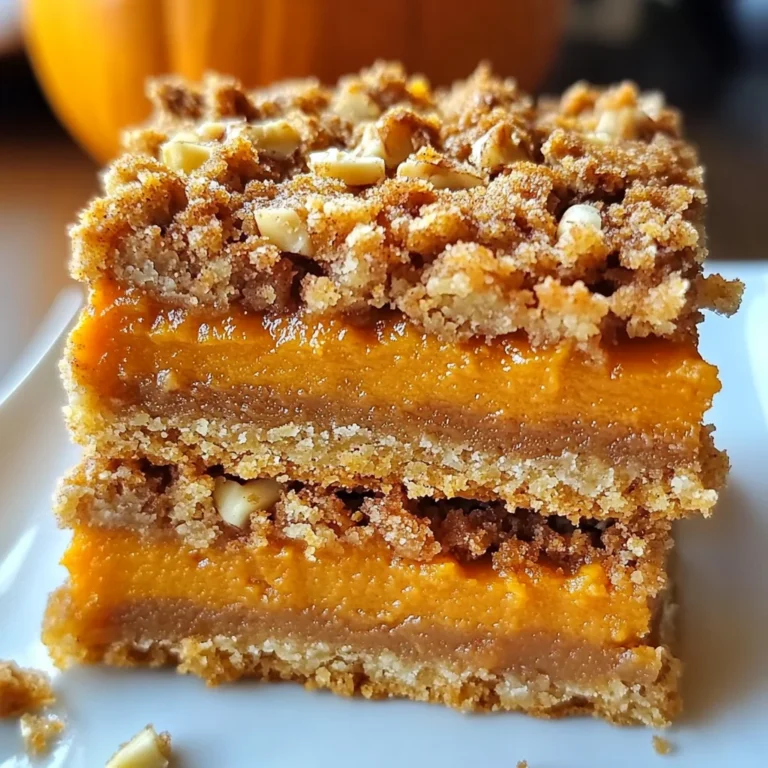
Mini Pumpkin Pies
If you’re looking for a delightful treat that captures the essence of fall in every bite, then these Mini Pumpkin Pies are just what you need! They bring all the cozy flavors of traditional pumpkin pie but in adorable little servings. Perfect for busy weeknights, family gatherings, or those moments when you just want to indulge a little, these mini pies are sure to win hearts.
What makes this recipe truly special is not only its simplicity but also the joy it brings when shared with loved ones. Each bite is like a warm hug, making it an instant favorite among friends and family alike!
Why You’ll Love This Recipe
- Easy to make: With simple steps and ingredients, whipping up these Mini Pumpkin Pies is a breeze!
- Perfect for any occasion: Whether it’s a holiday gathering or a casual snack, these pies fit right in.
- Family-friendly: Kids will love their individual size and delicious flavor, making them a hit at family desserts.
- Make ahead convenience: Prepare them in advance and chill them until you’re ready to serve. So easy!
- Deliciously satisfying: The combination of pumpkin puree and spices creates a rich, flavorful filling that everyone loves.
Ingredients You’ll Need
Let’s gather our simple and wholesome ingredients for these delightful Mini Pumpkin Pies! You’ll find that they come together easily with items you might already have in your kitchen.
For the Pie Crust
- 2 9-inch unbaked pie crusts (homemade or store-bought)
For the Filling
- 1/3 cup brown sugar
- 2 tablespoons granulated sugar
- 1 1/2 teaspoons pumpkin pie spice
- 1/4 teaspoon salt
- 1 cup canned pumpkin puree (not pumpkin pie filling)
- 3/4 cup evaporated milk
- 1 large egg, lightly beaten
- 1/2 teaspoon vanilla extract
- Homemade whipped cream, for topping
Variations
This recipe is versatile, so feel free to get creative! Here are some fun variations you can try:
- Add chocolate chips: Mix in some semi-sweet chocolate chips for a sweet surprise in each bite.
- Spice it up: Experiment with different spices like cinnamon or nutmeg to give your pies a unique twist.
- Nutty crunch: Add chopped walnuts or pecans to the filling for added texture and flavor.
- Swap the sweetener: Use maple syrup or honey instead of granulated sugar for a natural sweetness.
How to Make Mini Pumpkin Pies
Step 1: Preheat Your Oven
Preheat your oven to 400 degrees F. This step is crucial as it ensures that your pies bake evenly and develop that lovely golden crust we all adore.
Step 2: Roll Out the Pie Crust
On a lightly floured surface, roll the pie crusts out to 1/8-inch thickness. Using a 3 1/2-inch cookie cutter (or cup), cut out 18 circles from the pie crusts. If you have scraps left over, don’t worry! Just re-roll them to make more circles.
Step 3: Prepare the Muffin Pan
Place each circle of pie crust into 18 slots of two standard muffin pans. Gently press the dough down and around the sides so it fits snugly in each cavity. Then transfer the muffin pans to the refrigerator while you prepare your filling.
Step 4: Make the Filling
In a mixing bowl, whisk together brown sugar, granulated sugar, pumpkin pie spice, and salt until well combined. Then add in the pumpkin puree, evaporated milk, egg, and vanilla extract. Whisk everything until fully combined; this mixture is what makes these Mini Pumpkin Pies so delicious!
Step 5: Fill the Crusts
Remove those chilled muffin pans from the refrigerator. Carefully distribute the pumpkin filling evenly between all pie crusts—aim for about 2 tablespoons per crust. This ensures every mini pie has that perfect balance of crust and creamy filling.
Step 6: Bake
Bake them in your preheated oven for about 16-20 minutes or until the tops are set and look lightly golden brown. Keep an eye on them so they don’t burn!
Step 7: Cool Down
Once baked, remove from oven and allow to cool on a wire rack for about 30 minutes. After cooling slightly, carefully remove them from the muffin pan and let them cool completely on the rack.
Step 8: Chill Out
After they’ve cooled down completely, place your Mini Pumpkin Pies into an airtight container and transfer them to the refrigerator. Let them chill for at least three hours or overnight if you’re feeling patient—they’ll taste even better!
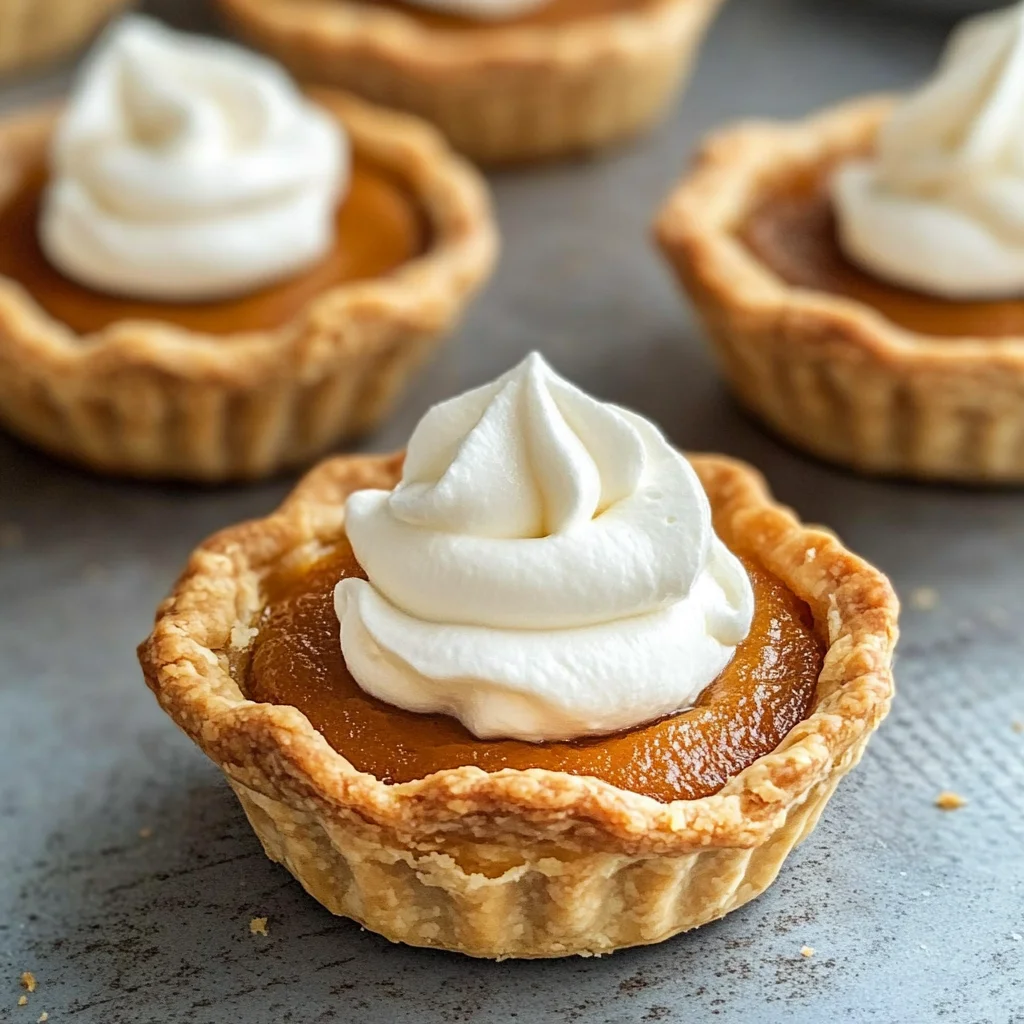
Step 9: Serve with Love
When you’re ready to enjoy these delightful treats, remove them from their pans. They can be served chilled or at room temperature—either way is delicious! Don’t forget a dollop of homemade whipped cream on top for an extra special touch!
Enjoy sharing these Mini Pumpkin Pies with friends and family; they’re sure to become a cherished favorite!
Pro Tips for Making Mini Pumpkin Pies
Creating the perfect mini pumpkin pies is all about attention to detail and a sprinkle of love! Here are some tried-and-true tips to ensure your pies turn out delightful every time.
-
Use chilled pie crust: A cold crust helps maintain its shape while baking, leading to a flakier texture that perfectly complements the creamy filling.
-
Don’t overfill: Stick to about 2 tablespoons of filling in each crust. Overfilling can lead to messy overflow and uneven baking, so keep it just right!
-
Check for doneness: Since oven temperatures can vary, start checking your mini pies after 16 minutes. They should be set in the center and lightly golden on top—this prevents over-baking and keeps them moist.
-
Cool before chilling: Allowing your mini pumpkin pies to cool at room temperature before refrigerating helps maintain their texture and flavor. Chilling them too soon can make them soggy.
-
Experiment with spices: Feel free to adjust the spices according to your taste. Adding a pinch of nutmeg or ginger can enhance the flavor profile for a more personalized touch!
How to Serve Mini Pumpkin Pies
These mini pumpkin pies are as charming as they are delicious! Presenting them beautifully can elevate your dessert table, making them perfect for gatherings or cozy nights in.
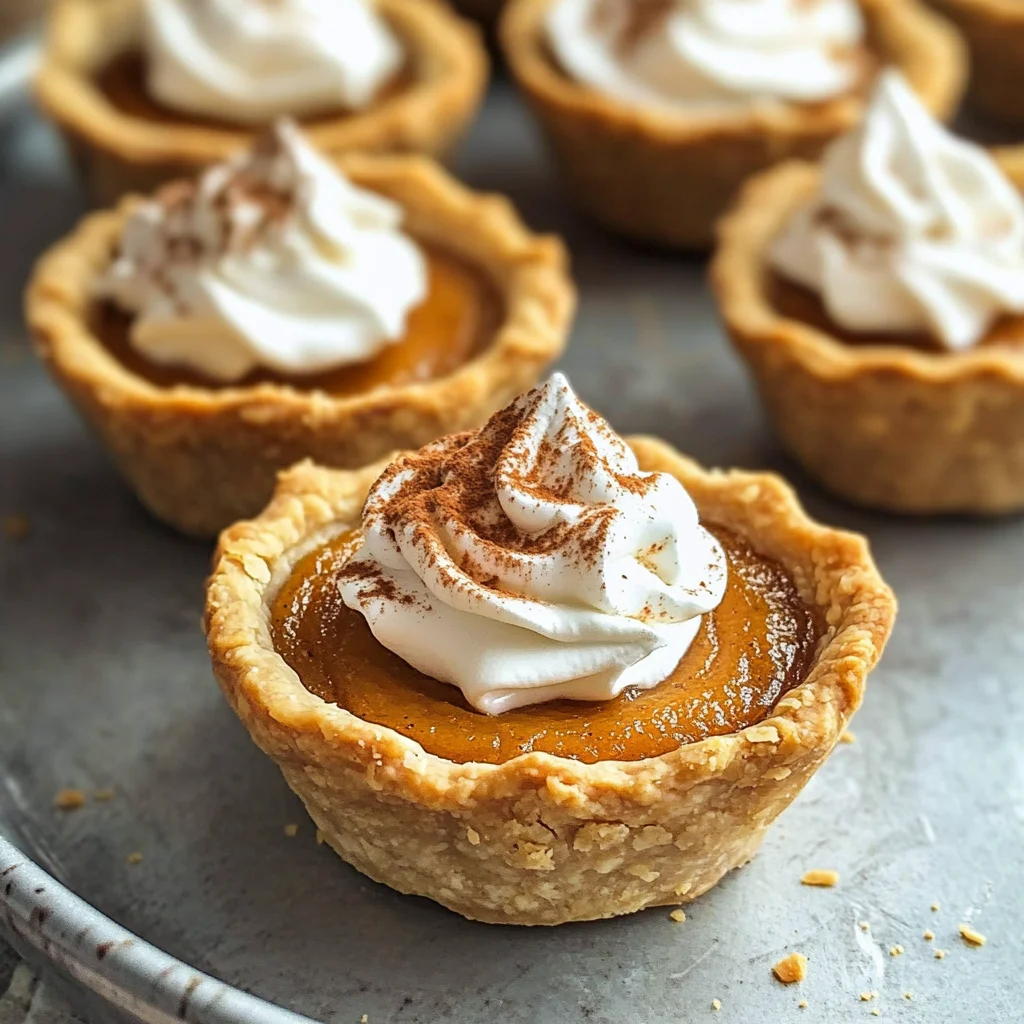
Garnishes
- Homemade whipped cream: A dollop of freshly made whipped cream adds a luxurious touch and balances the flavors wonderfully.
- Cinnamon dust: A light sprinkle of cinnamon on top not only enhances presentation but also brings warmth and spice that complements the pumpkin.
- Chopped nuts: Finely chopped pecans or walnuts provide a delightful crunch that pairs wonderfully with the smooth filling.
Side Dishes
- Apple cider: This classic fall drink is sweet, spiced, and refreshing, making it a perfect match for mini pumpkin pies.
- Vanilla ice cream: A scoop of creamy vanilla ice cream melts beautifully on warm pies, creating a heavenly combination that’s hard to resist.
- Coffee or chai tea: The rich flavors of coffee or spiced chai tea create a wonderful contrast to the sweetness of the pies, enhancing the overall experience.
- Cheese platter: Pairing some mild cheeses like brie or goat cheese can provide savory notes that balance out the sweetness of the dessert beautifully.
Enjoy these delightful mini pumpkin pies as they bring joy to your table this fall season! Happy baking!
Make Ahead and Storage
These Mini Pumpkin Pies are a fantastic treat for meal prep! They can be made ahead of time and stored, making them perfect for parties or cozy family gatherings.
Storing Leftovers
- Store any leftover mini pumpkin pies in an airtight container.
- Keep them in the refrigerator for up to 3 days.
- If you want to keep them fresh longer, consider freezing them.
Freezing
- Before freezing, ensure that the pies are completely cooled.
- Place the mini pies in a single layer on a baking sheet and freeze until solid.
- Once frozen, transfer them to an airtight container or freezer bag. They can be stored for up to 2 months.
Reheating
- To reheat, remove the desired number of mini pies from the freezer and let them thaw in the refrigerator overnight.
- For a quick warming option, place them in an oven preheated to 350°F (175°C) for about 10-15 minutes until heated through.
FAQs
If you’re still curious about these delightful treats, here are some frequently asked questions!
Can I make Mini Pumpkin Pies without eggs?
Absolutely! You can replace the egg with a flaxseed meal mixture (1 tablespoon of flaxseed meal mixed with 2.5 tablespoons of water) as a binding agent. This will maintain the texture.
How do I make Mini Pumpkin Pies vegan?
To make these Mini Pumpkin Pies vegan, use a plant-based milk like almond or soy instead of evaporated milk and substitute the egg with a flaxseed mixture or commercial egg replacer.
Can I prepare Mini Pumpkin Pies ahead of time?
Yes! You can prepare these Mini Pumpkin Pies up to a day in advance. Just store them in an airtight container in the refrigerator until you’re ready to serve.
What is the secret to flaky crust for Mini Pumpkin Pies?
The key to a flaky crust is keeping your ingredients cold. Use chilled butter (or coconut oil) and ice-cold water when mixing your dough. Don’t overwork it; this ensures a tender, flaky result!
Final Thoughts
I hope you enjoy making these Mini Pumpkin Pies as much as I do! They’re not just adorable but also bursting with fall flavors that bring warmth to any occasion. Whether you share them at gatherings or savor them yourself, they are sure to be a hit! Happy baking, and may your kitchen be filled with joy!
Mini Pumpkin Pies

Indulge in the cozy flavors of fall with these delightful Mini Pumpkin Pies! Perfectly portioned and bursting with rich pumpkin goodness, these mini desserts are ideal for any occasion—be it a holiday gathering, family night, or a sweet treat just for you. Each bite is a warm embrace of classic spices and creamy filling, topped off with a dollop of homemade whipped cream to elevate the experience. Simple to make and easily customizable, these pies will quickly become a cherished favorite among friends and family alike!
- Prep Time: 20 minutes
- Cook Time: 20 minutes
- Total Time: 40 minutes
- Yield: Makes approximately 18 mini pies 1x
- Category: Dessert
- Method: Baking
- Cuisine: American
Ingredients
- 2 unbaked pie crusts
- 1/3 cup brown sugar
- 2 tablespoons granulated sugar
- 1 1/2 teaspoons pumpkin pie spice
- 1/4 teaspoon salt
- 1 cup canned pumpkin puree
- 3/4 cup evaporated milk
- 1 large egg or substitute
- 1/2 teaspoon vanilla extract
Instructions
- Preheat oven to 400°F.
- Roll out pie crusts to 1/8-inch thickness. Cut into circles and place them in muffin pans.
- Whisk together sugars, spices, salt, pumpkin puree, evaporated milk, egg, and vanilla until well combined.
- Fill each crust with about 2 tablespoons of the pumpkin mixture.
- Bake for 16-20 minutes or until set and lightly golden.
- Cool on a wire rack before chilling in the refrigerator for at least three hours.
Nutrition
- Serving Size: 1 mini pie (35g)
- Calories: 126
- Sugar: 10g
- Sodium: 78mg
- Fat: 5g
- Saturated Fat: 2g
- Unsaturated Fat: 3g
- Trans Fat: 0g
- Carbohydrates: 19g
- Fiber: 1g
- Protein: 2g
- Cholesterol: 27mg